
Links
Infiniti G37 Links
Sites of Interest
Recent Discussions
- Re: Part number for AC Amp for 2012 G37
- Re: Part number for AC Amp for 2012 G37
- Re: Part number for AC Amp for 2012 G37
- Re: Part number for AC Amp for 2012 G37
- Re: Part number for AC Amp for 2012 G37
- Re: 2007 G35 VQ35 (HR) Cranks but don't start
- Part number for AC Amp for 2012 G37
- 2007 G35 VQ35 (HR) Cranks but don't start
- Re: Dynamic Cruise Control on G37?
- Re: Dynamic Cruise Control on G37?
- G35 and G37 Engine, Drivetrain & Tuning • Re: U1000/U1001 after complete drivetrain and wiring swap
- G35 and G37 Engine, Drivetrain & Tuning • Re: U1000/U1001 after complete drivetrain and wiring swap
- G35 and G37 Engine, Drivetrain & Tuning • Re: U1000/U1001 after complete drivetrain and wiring swap
- G35 and G37 Engine, Drivetrain & Tuning • Re: U1000/U1001 after complete drivetrain and wiring swap
- G35 and G37 Engine, Drivetrain & Tuning • Re: U1000/U1001 after complete drivetrain and wiring swap
- G35 and G37 Engine, Drivetrain & Tuning • Re: U1000/U1001 after complete drivetrain and wiring swap
- G35 and G37 Engine, Drivetrain & Tuning • Re: U1000/U1001 after complete drivetrain and wiring swap
- G35 and G37 Engine, Drivetrain & Tuning • Re: U1000/U1001 after complete drivetrain and wiring swap
- G35 and G37 Engine, Drivetrain & Tuning • Re: U1000/U1001 after complete drivetrain and wiring swap
- G35 and G37 Engine, Drivetrain & Tuning • Re: U1000/U1001 after complete drivetrain and wiring swap
Of Interest


Wallpapers


Infiniti G37 Convertible Supercharger Installation
NOTE: Dyno Results added to bottom of article
Hello everyone. I posted this on NICO and here on www.InfinitiG37.com so I don’t have to repost this 8 different times on different forums. I currently have a 2010 G37 Convertible with the 6 speed manual. My previous vehicle was a 2002 Nissan Maxima in which I had maxed out the modifications available for it being naturally aspirated. Well it was time for me to dabble in Forced induction and I have just the vehicle for it, a 2010 Infiniti G37 Convertible. As I had recently purchased the vehicle I wanted to put at least 2000 miles on it before I started to make sure nothing was out of the ordinary. After the breakin period I spent time going over forced induction options for the G37 and picked the GTM kit. From an installation perspective, I followed the manufacturer supplied writeup which is linked below. The purpose of this write up is not to completely document the installation but as more of a supplement to help those contemplating similar supercharger installation projects. Installation took the two of us (myself and Scott (Maxhopper), a NICO Moderator) a little over 30 hours for the install in my garage.
G37S Supercharger Instructions PDF
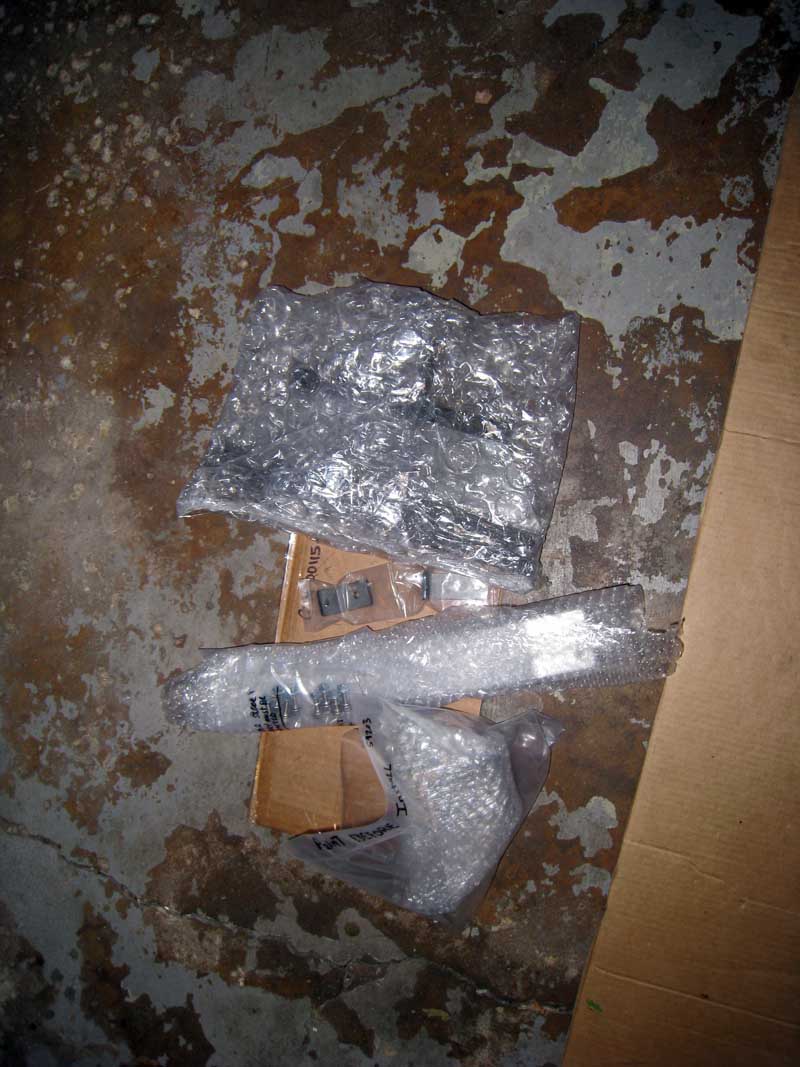
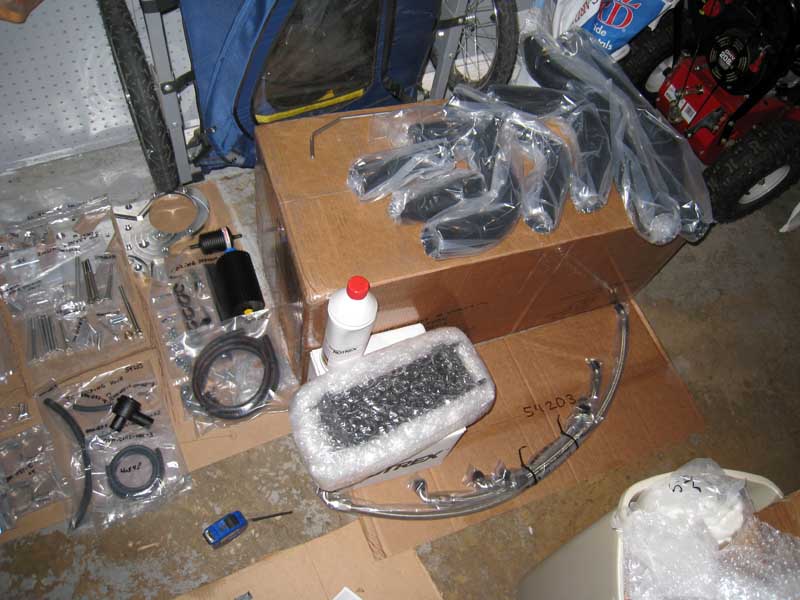
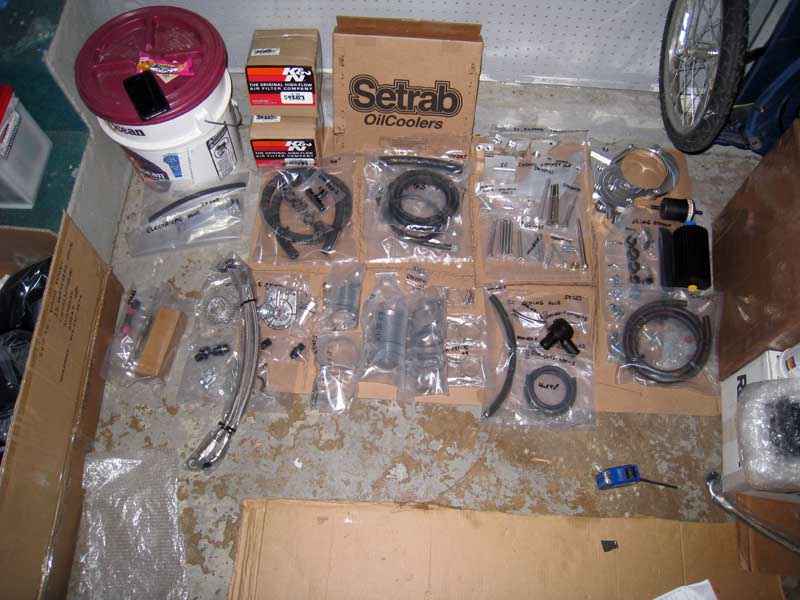
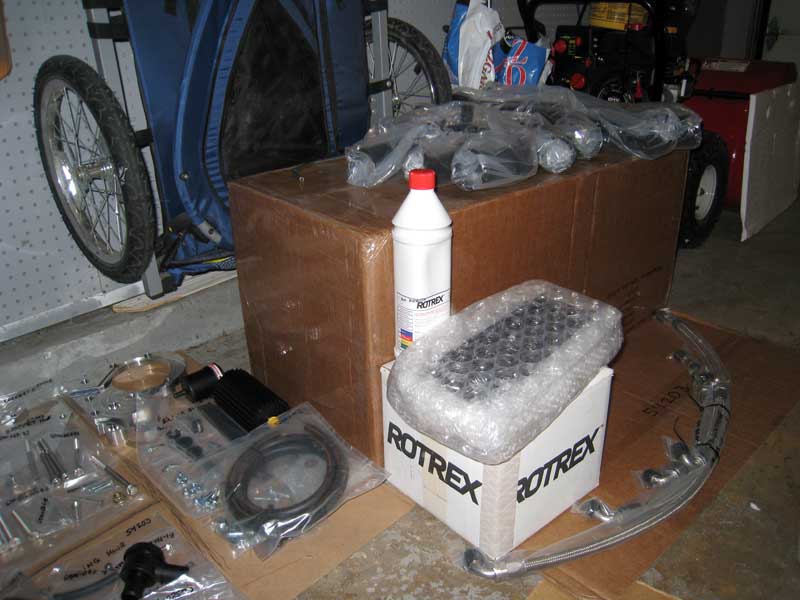
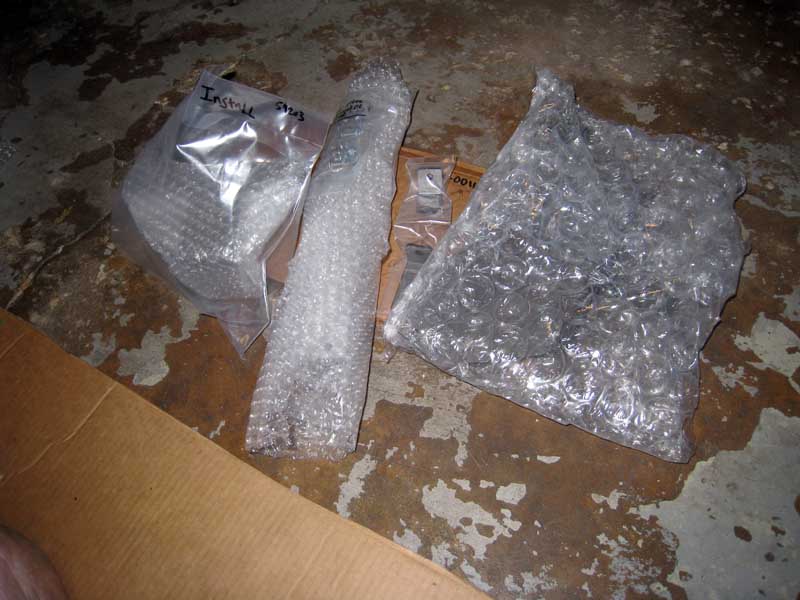
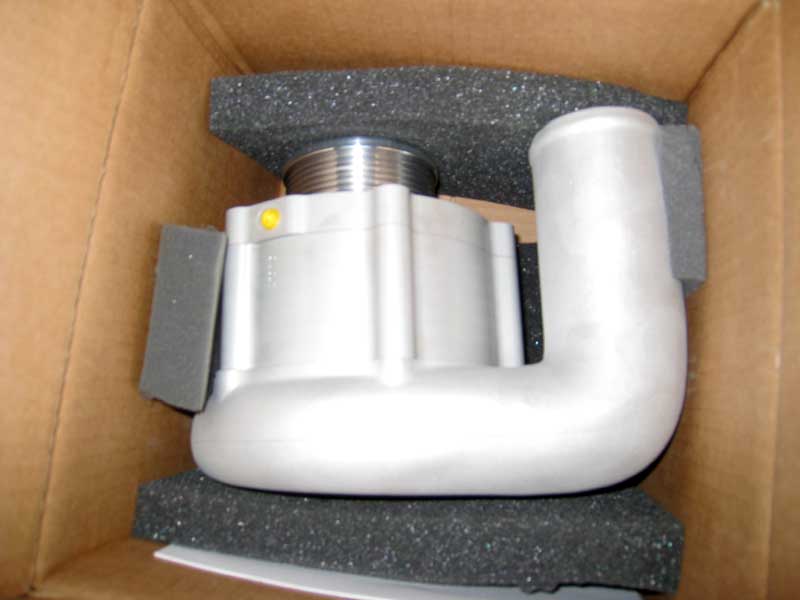
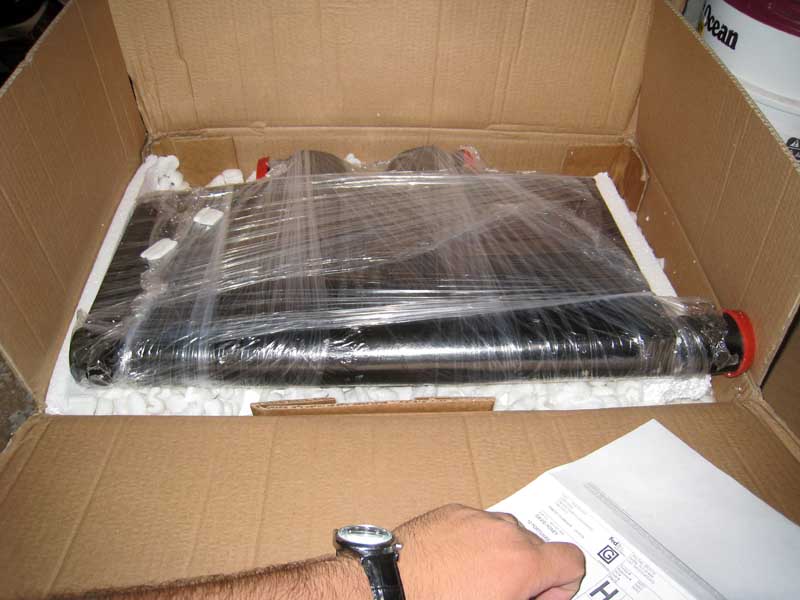
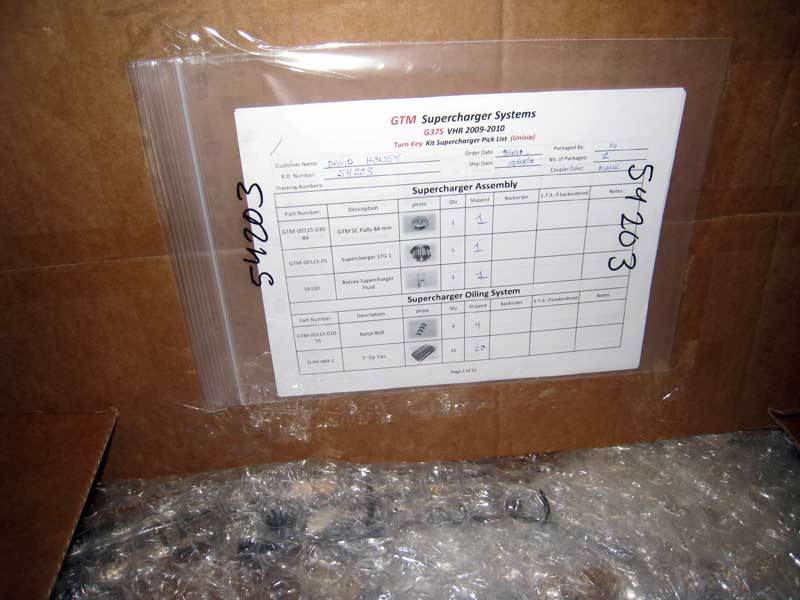
Here is the initial packaging that came via UPS


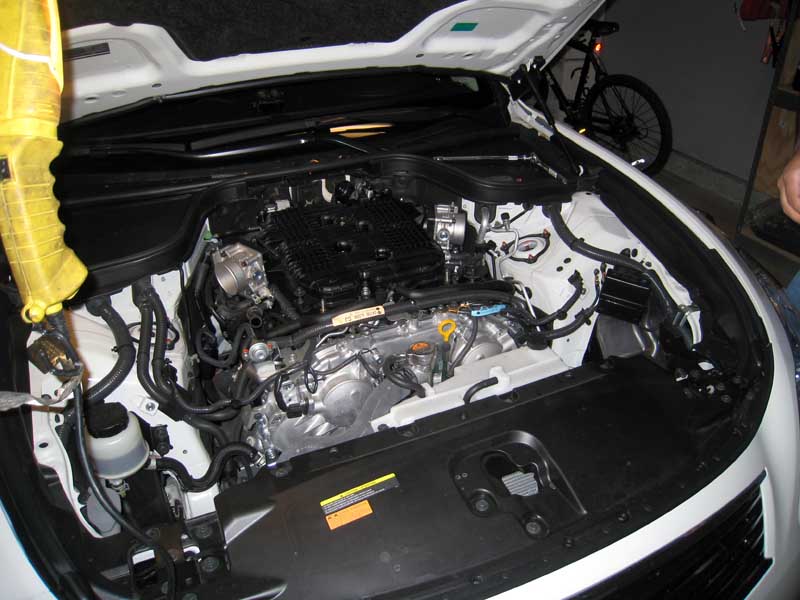
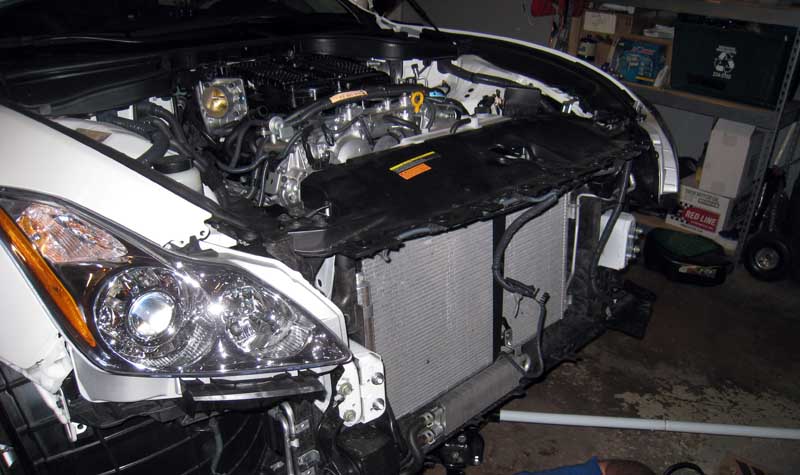
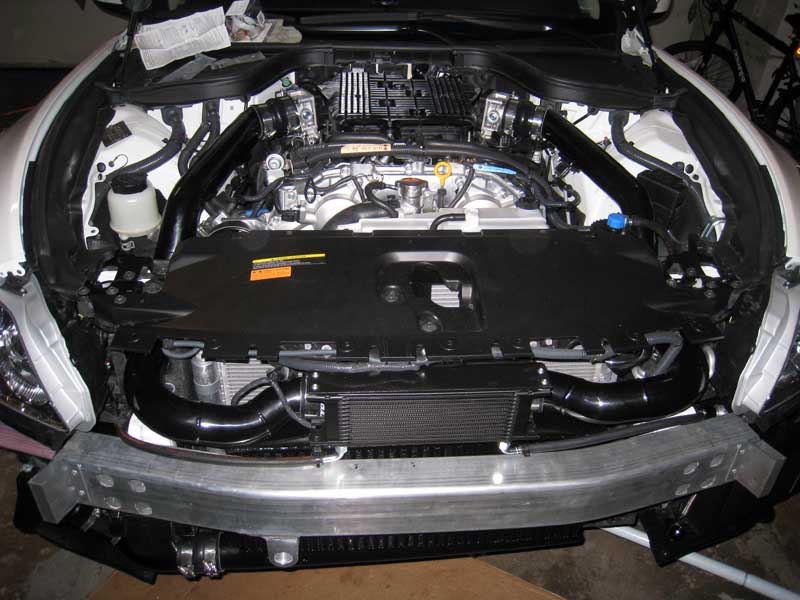
Here is a pic of the engine bay before the install
First I started with the fuel pump. There are 2 different fuel pumps. 09 model and newer and then some 09 and earlier models. The 09 and earlier models seemed to be a harder pump install, but I cant say for sure.
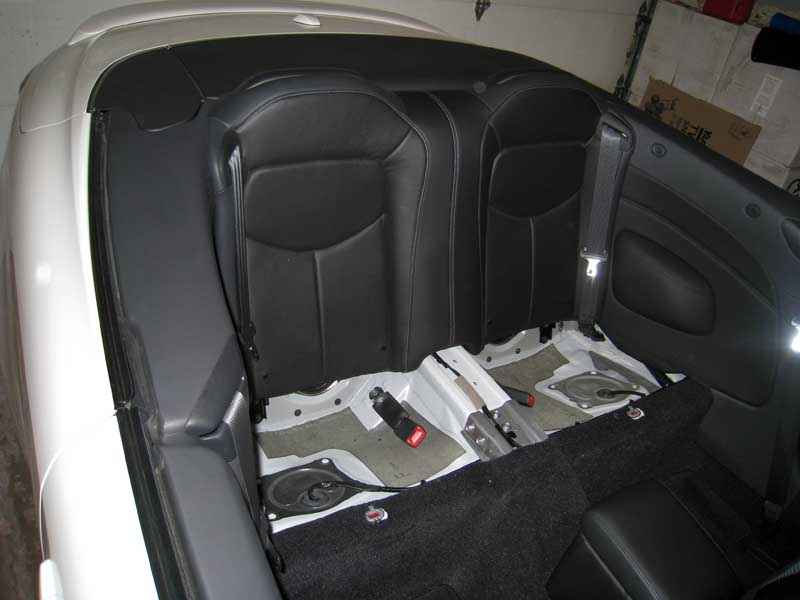
First remove the bottom seat cushions in the back
The instructions were spot on for the removal of the fuel filter. Here she is in all her glory. Be sure to have tons of towels around to catch gas. You don’t want this stuff to smell up your carpet.
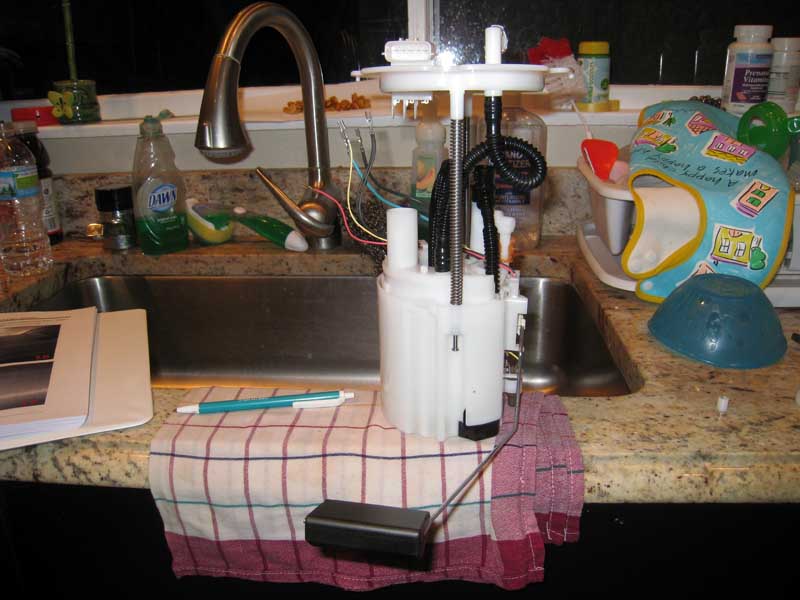
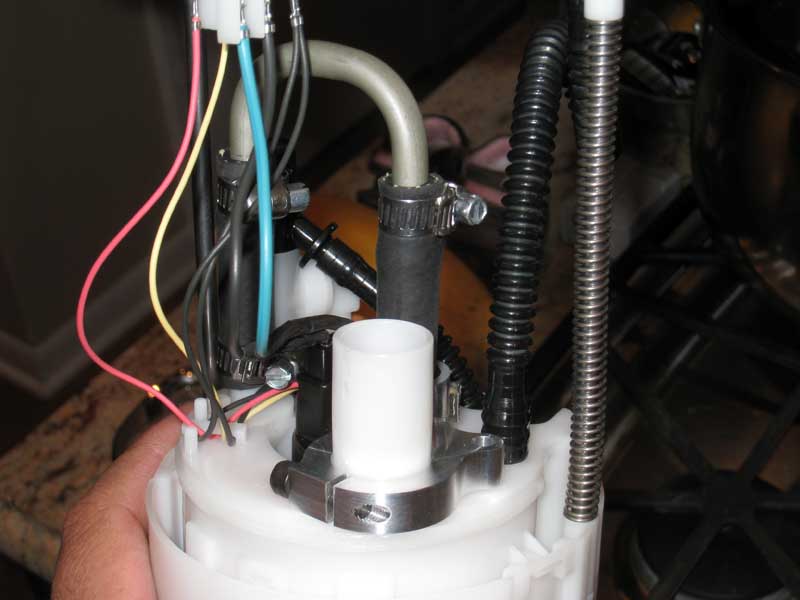
Here is the hose and 2 wires going to the pump
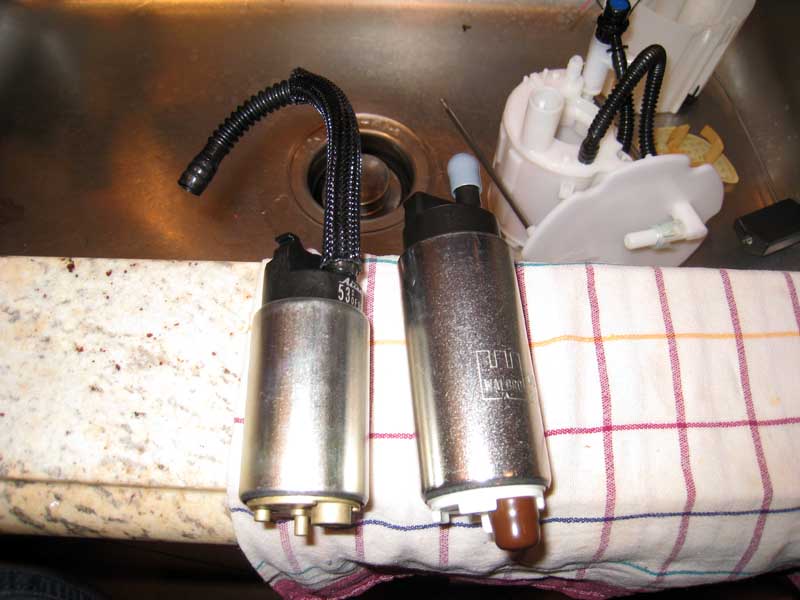
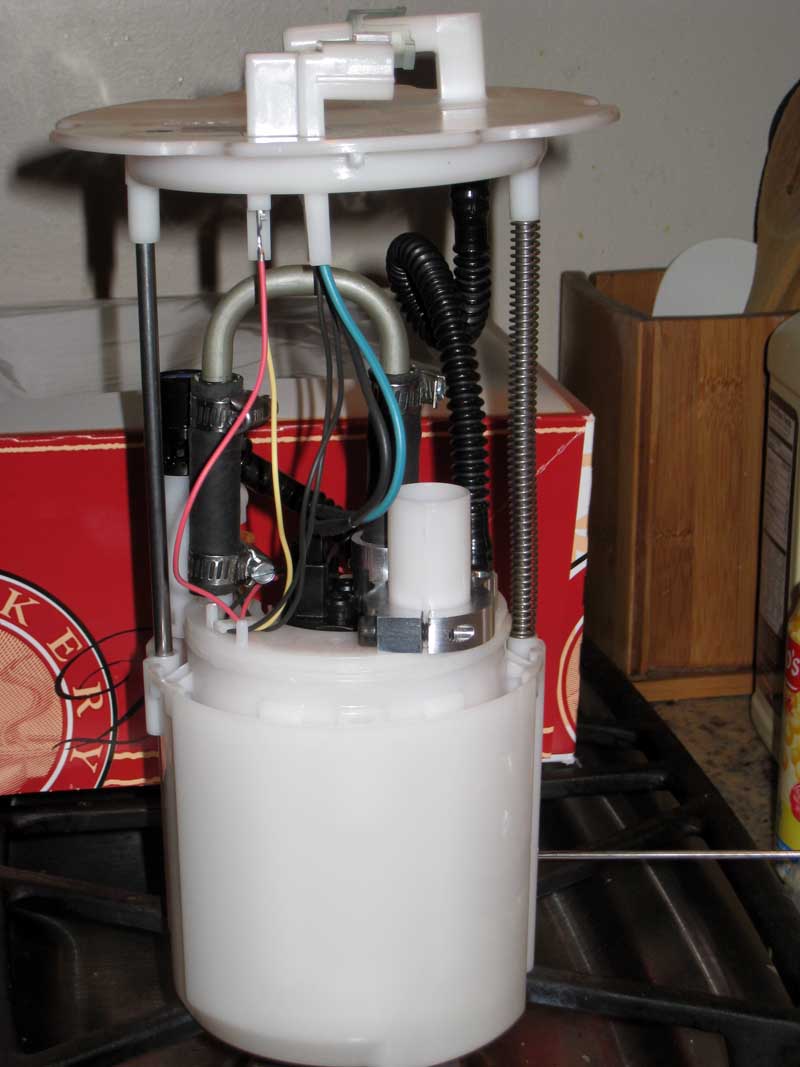
Here is the stock pump next to the Walboro pump
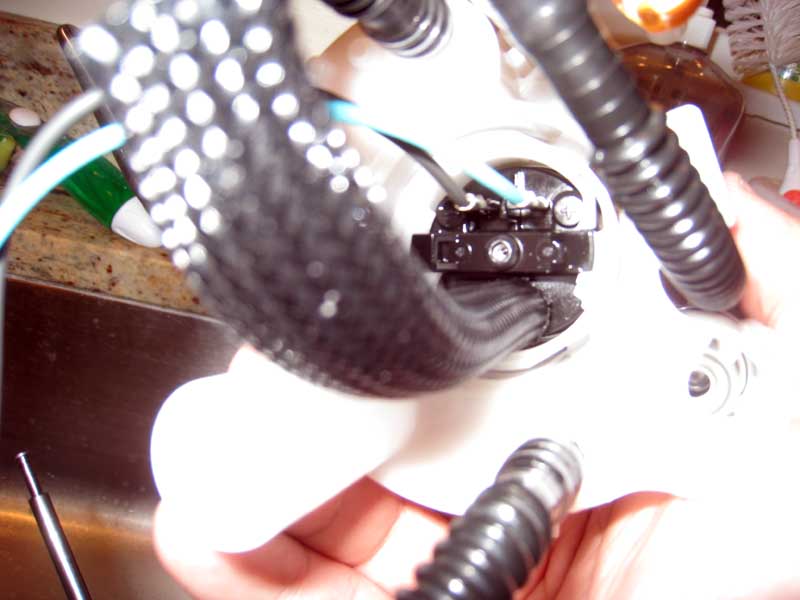
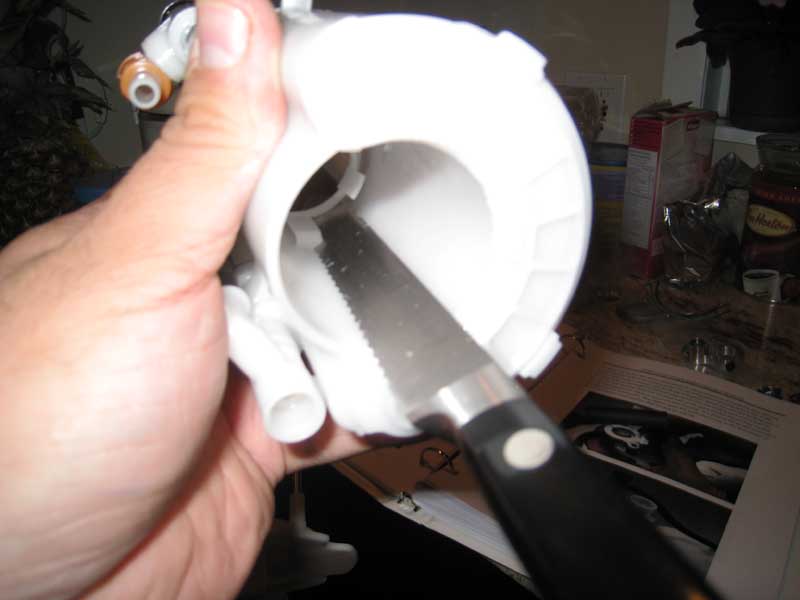
The manual says to get needle nose pliers and just rip the rest of the bracket off. I found if you get a serrated knife and just saw the clips off it looks a lot cleaner… Doesn’t really matter since no one will see it. This is just the anal part about me being neat.
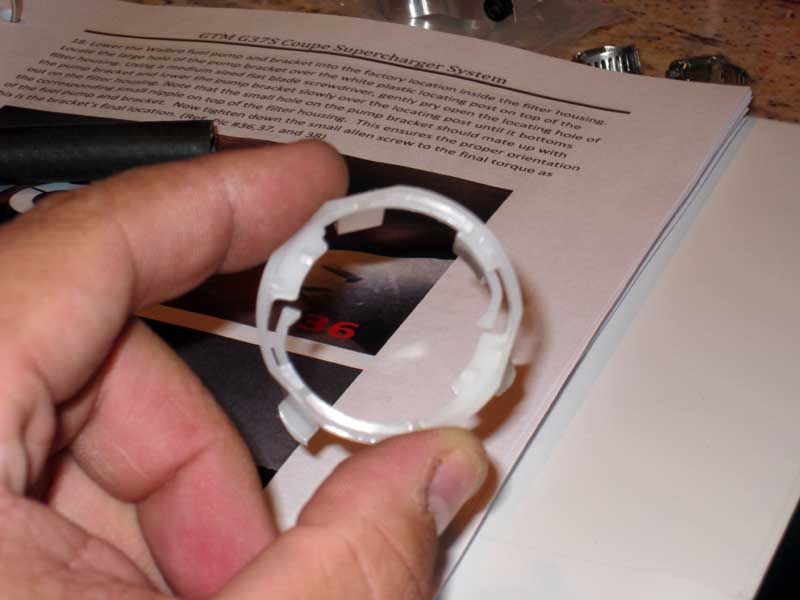
And the bracket cut out
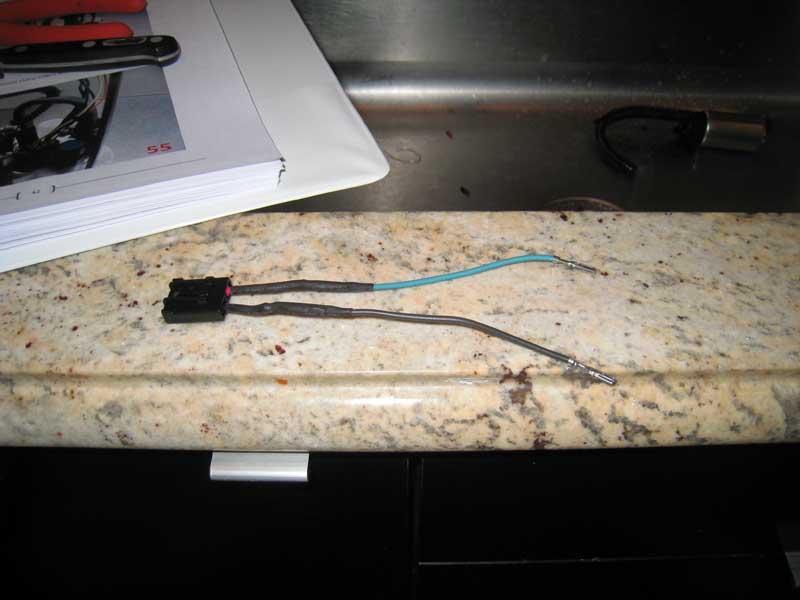
Now you have to cut two power connectors from the OEM pump and solder them to the walboro fuel wiring connector.
Here is a pic of the fuel pump system reassymbled. NOTE the metal U tube. This has to be pushed down all the way OR the fuel tank cover will not seat all the way… I found out the hard way.

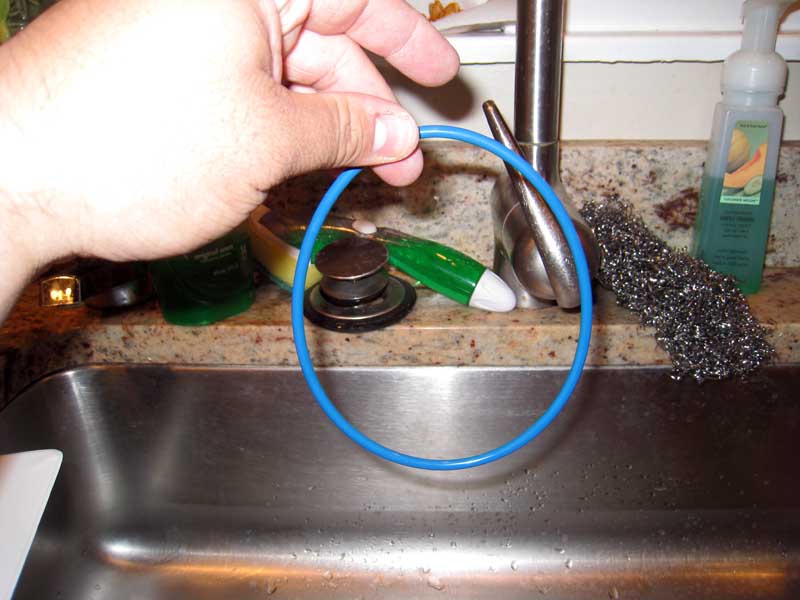
Also, you will most likely get fuel on the blue oring that seals the cover to the fuel tank. Fuel will destroy the o-ring over time. Give this a quick wash of water and dry immediately. Put o-ring back in place. (If your car was older then you may want to replace but this o-ring is only a few months old)
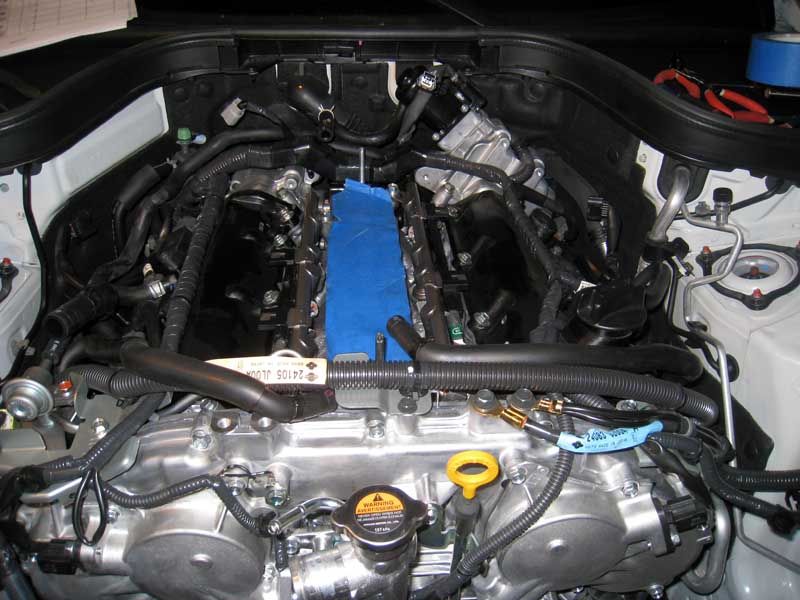
Now to the engine bay
NOTE: 2010 Sedans and Coupes have fog lights in the bumper (2010 verts bumper is like the 2009). They have 2 screws that have to be taken off that are accessed from the wheel well area instead of one like the 2009 and earlier models.
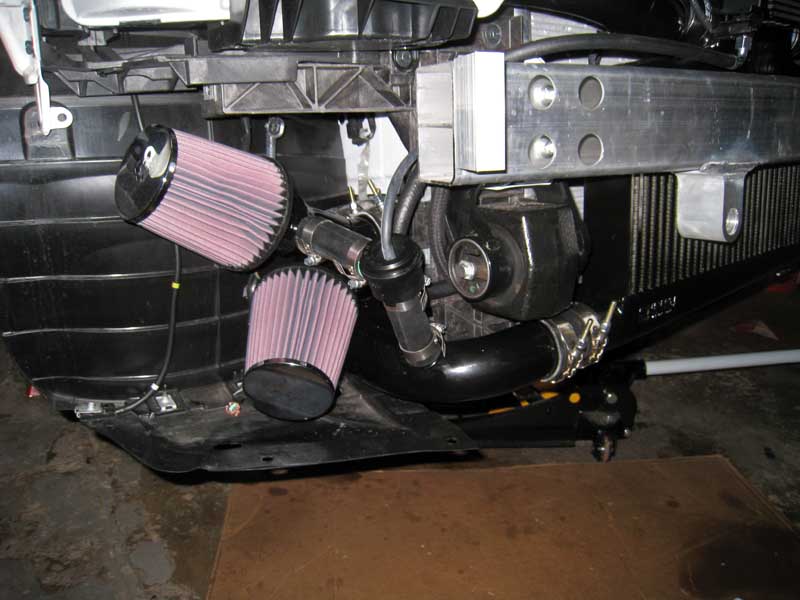
Take the intakes off
Radiator Drain
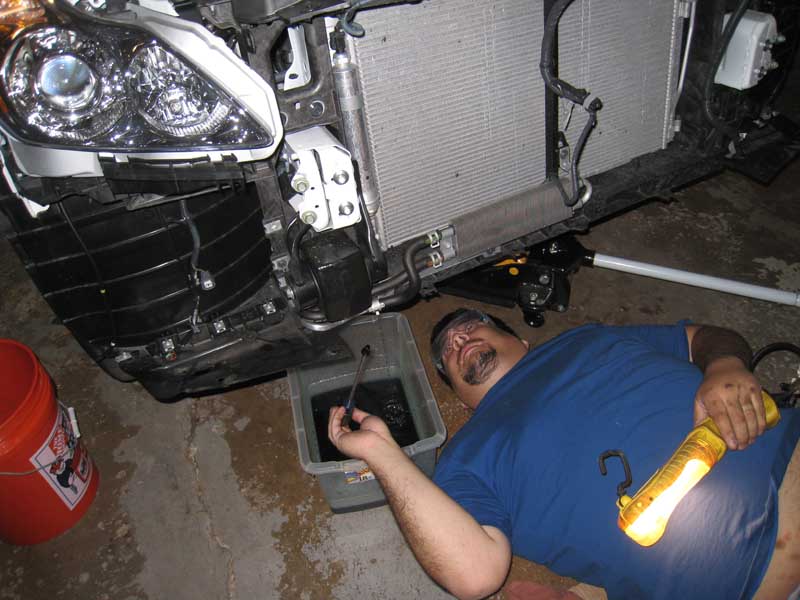
Followed the manual, which was spot on for removal.

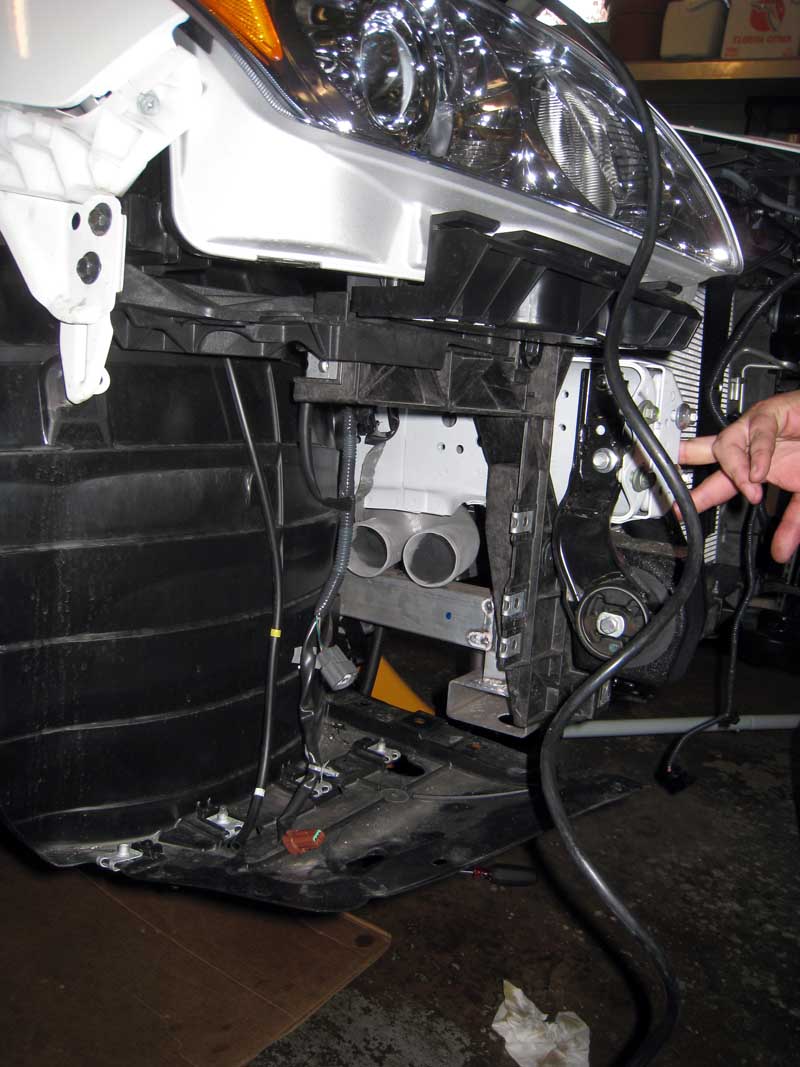
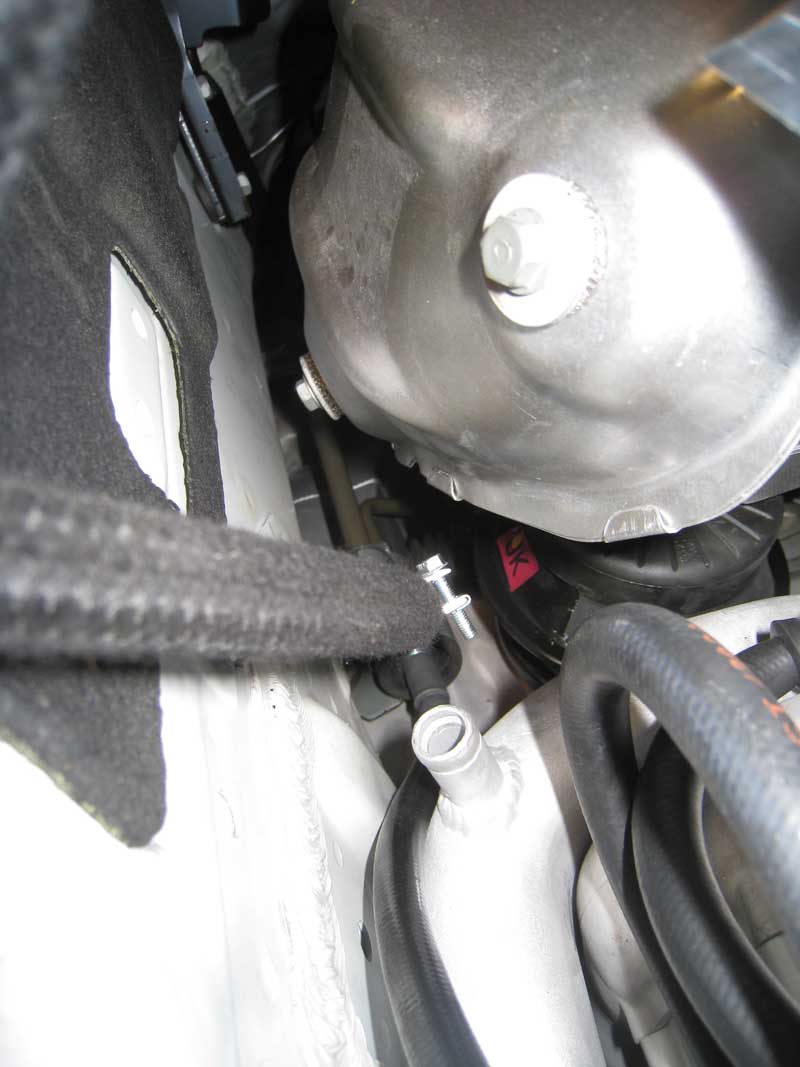
Dealing with the power steering high pressure disconnect at the end of the braided hose was probably the hardest part of the install. Limited access and the nut we could not get a good grip, Rounded the nut and had to use vice grips.
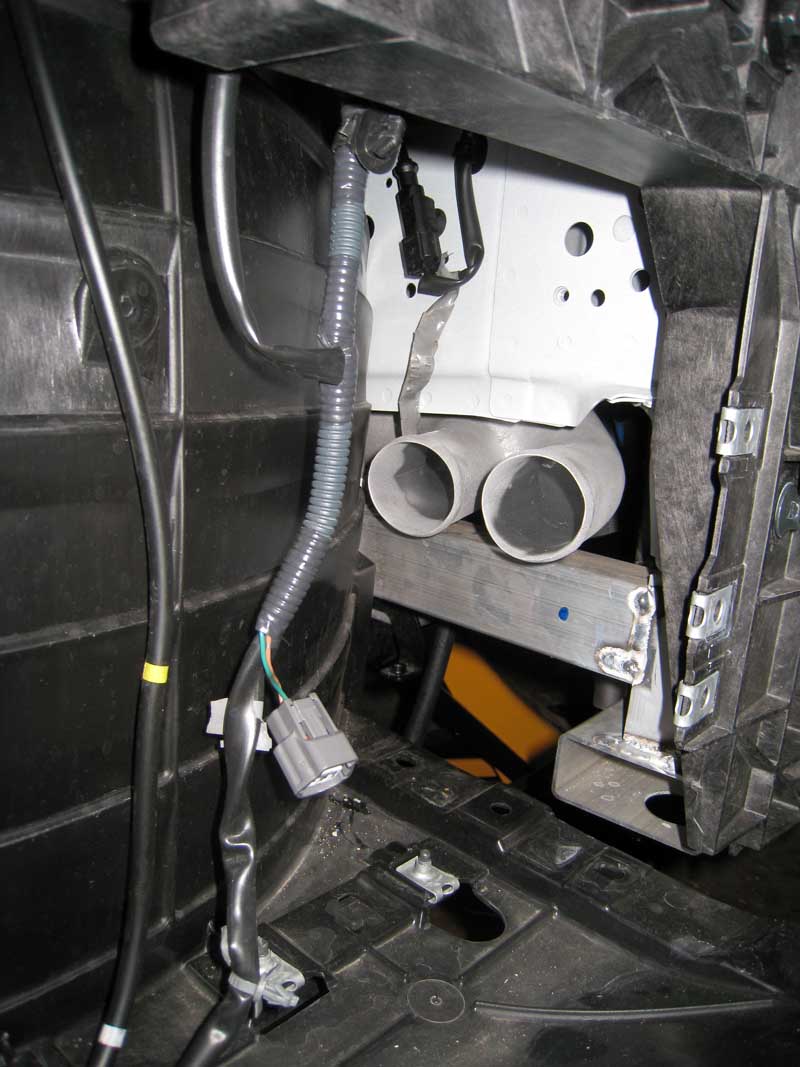
The convertible had this counter balance weight on the front. Sam said it was safe to remove but I was able to work completely around it.
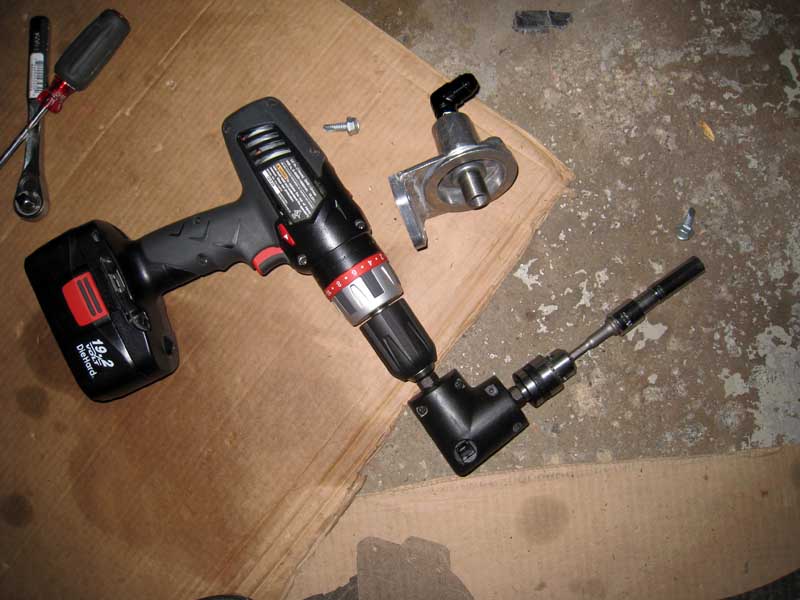
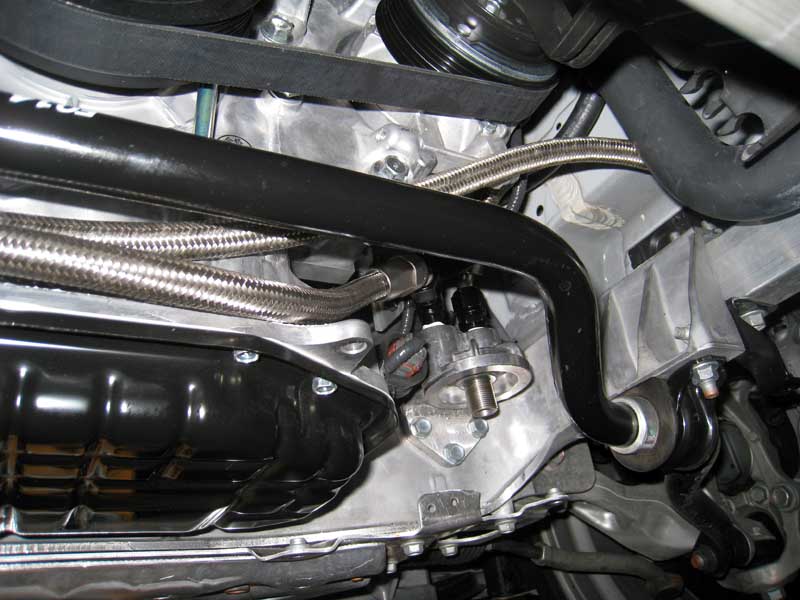
During the oil filter adapter relocation, it requires you to drill 3 holes in the car for the adapter and use counter sink screws. Well the only way I was able to get a drill in there was to use a 90 degree extension. THIS IS A MUST.
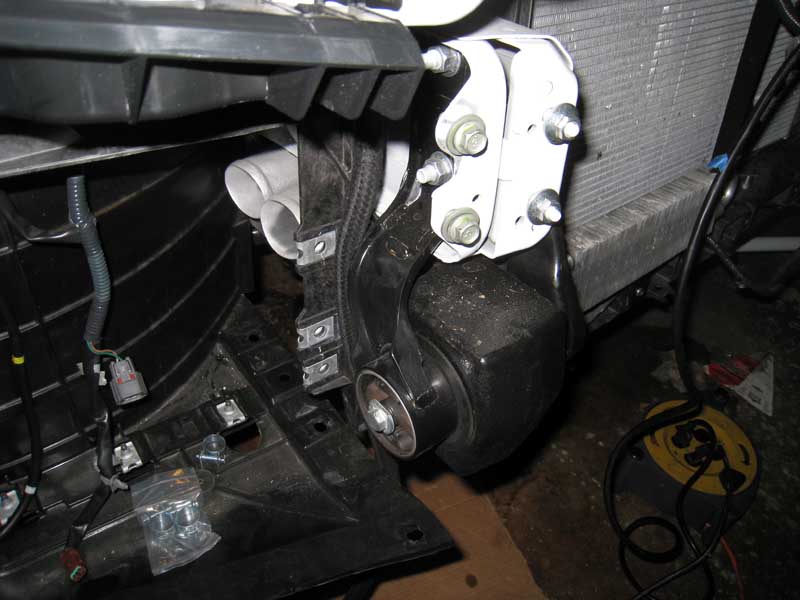
I got a engine oil cooler kit (highly recommended for our cars). The routing of this was tough and I had to dremel a little bit of the plastic bracket as seen to get the oil lines to connect to the thermostat

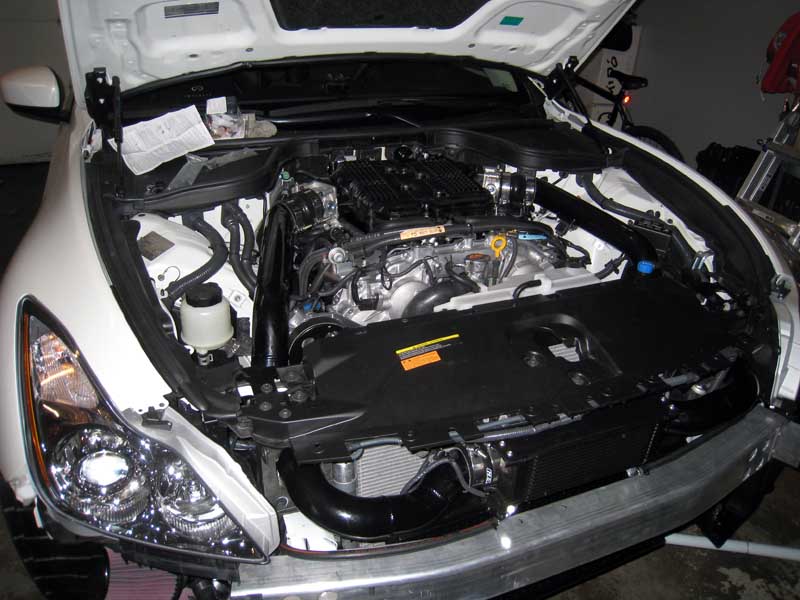
Here is a few pics of everything installed

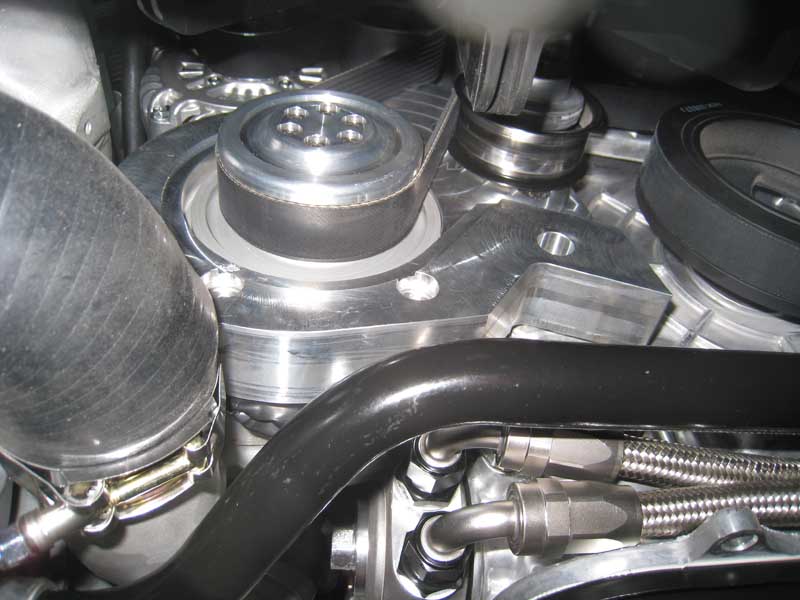
Pic of the supercharger and oil adapter from the bottom up
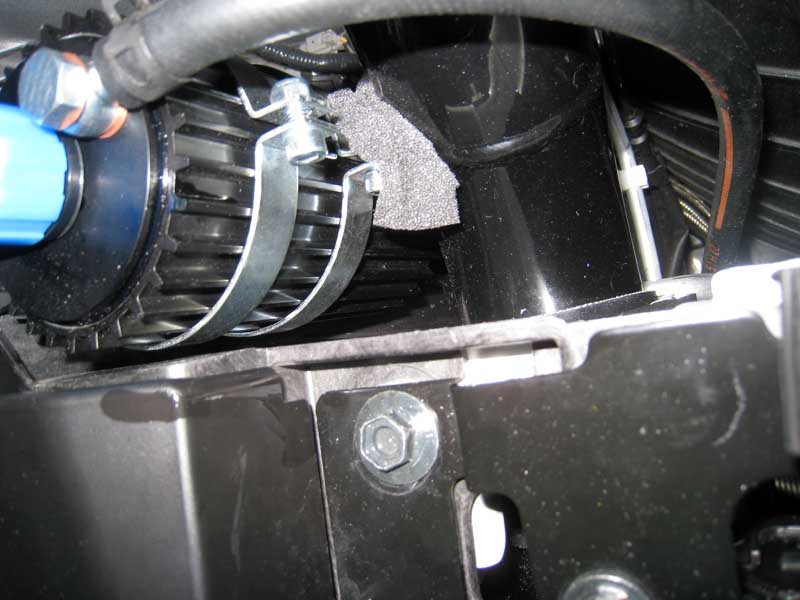
Oil filter relocation
Power steering relocation and below it the supercharger oil filter
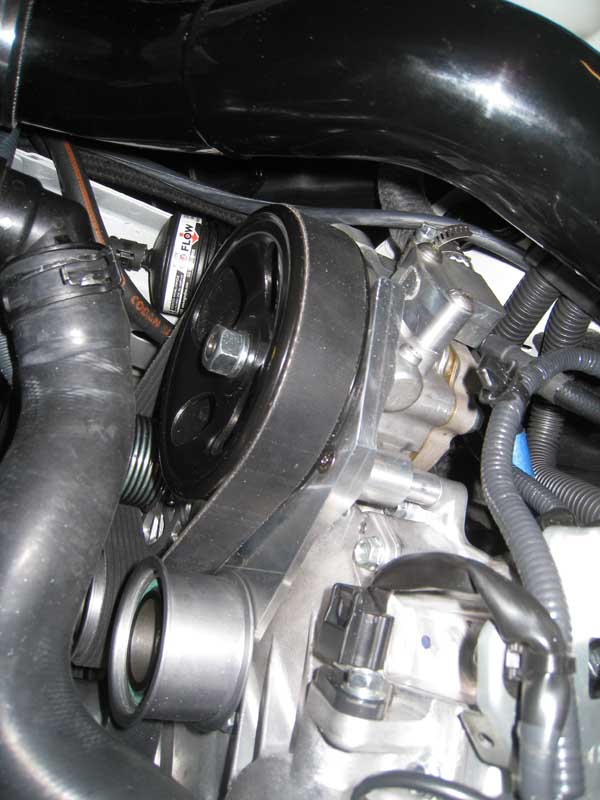
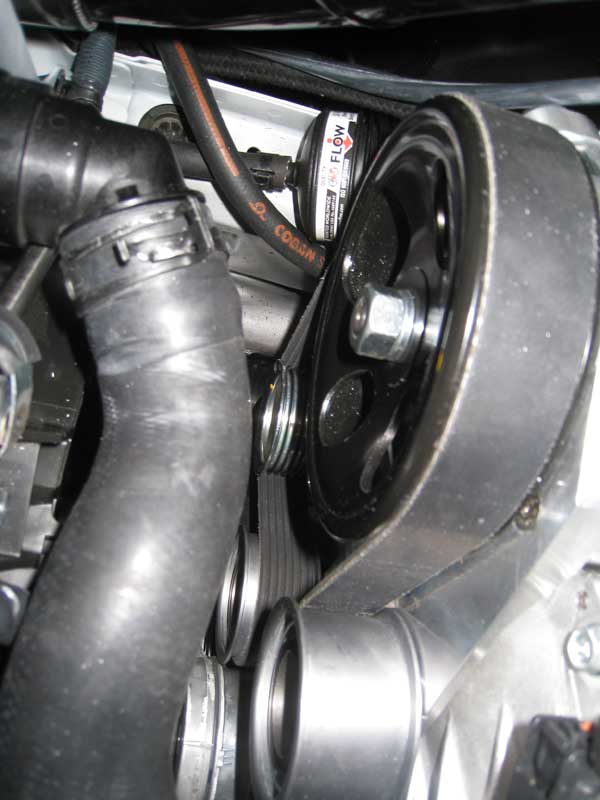
One minor issue is that the intake tubing is really close the the supercharger oil resvoir. This is easily remedied by adjusting the L-brackets that came with the kit.
Since I am the first convertible that will be supercharged Uprev needed my rom. They have been working on it for about a week now. I can start my car but I can not drive it yet. This first start can be seen in the following youtube link (thanks to Jeff (efuseakay on MyG37.com) for the video)
http://www.youtube.com/watch?v=TLgmzetCkGs
The car started on the first try. No check engine lights.
Once I get my rom file I will take it out for a drive to break it in and check for leaks and do data recording to send to Sam at GTM. A second review of driving with the supercharger will be later
Special thanks to my wife for letting me do this install on the same weekend as our 5 year anniversary. A special thanks also to Scott (maxhopper) for helping with most of the install. I told him it would take at most 20 hours. Heh.
Break-in Pass
Dyno Results
After some initial flutter issues with the supercharger, resolved by Sam at GTM, I was finally able to perform my first dyno pass since the upgrade. Below are the before and after results.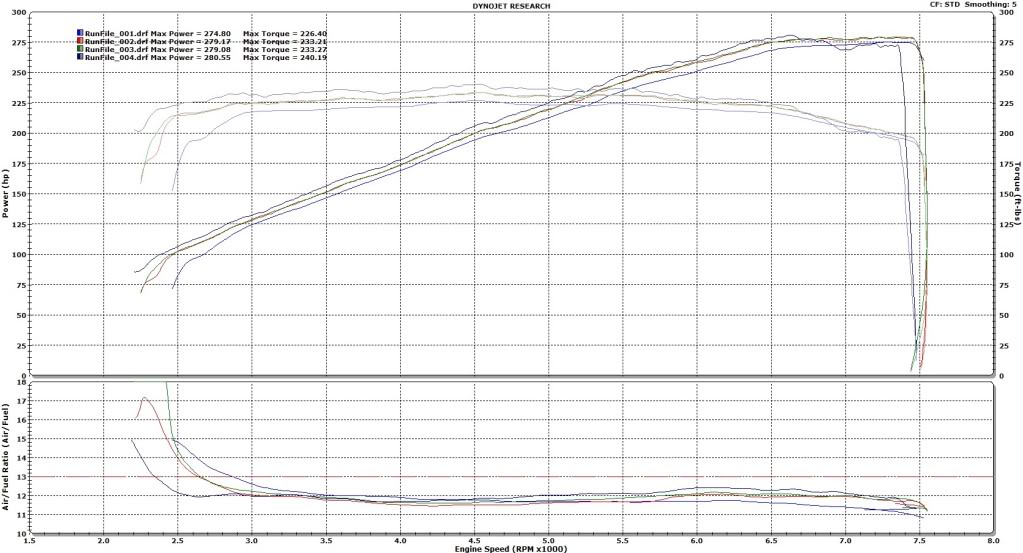

